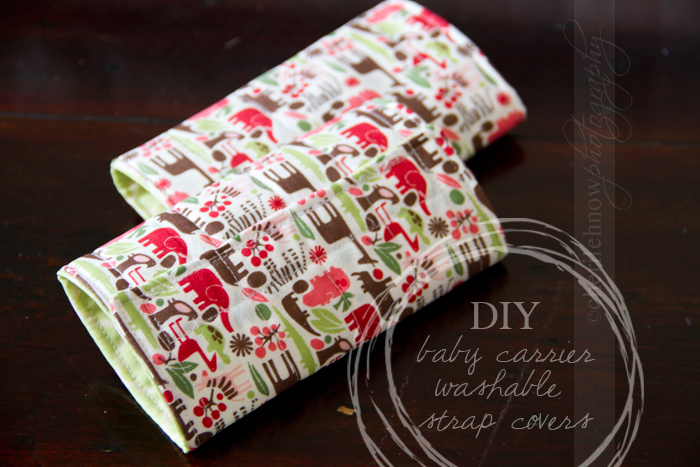
The new Ergo carrier I bought is amazing. I'm absolutely pleased with my purchase although I've noticed a couple of things. First, it's really really really hard to fasten the strap that keeps the shoulders together in the back, when you're wearing the carrier in the front. Second, the bebe likes to suck {and spit-up} on the straps since they're so close to her face. While I can't fix the first problem {but I'll get it at some point}, the second seemed an easy solution. What about washable, interchangeable strap covers that you can use to protect the carrier straps? Brilliant!
These for me are kind of two-fold, since I bought a navy blue carrier, I needed to girl-ify it a bit so people will stop asking if she's a boy or a girl. And now I won't have to wash my carrier so often due to dirty straps. So here we go:
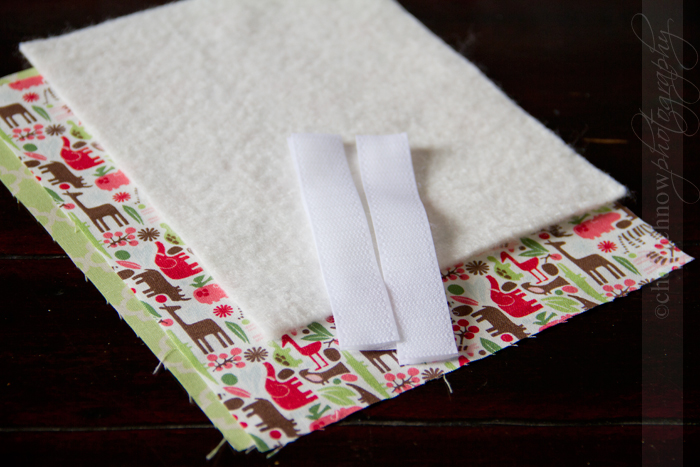
Start with two 6"x8" pieces of quilt batting or fusable interfacing. Then choose two coordinating fabrics and cut 2 pieces of each, 6.5"x8.5". You will also need two 5" strips of velcro.
Now I didn't document EVERY step of the way so if you have any questions let me know. Now I used quilt batting, so I quilted it onto the back of my cover fabric. Then I put both coordinating fabrics face to face and stitched around the edges, leaving an opening along one of the short ends indicated by the pins.
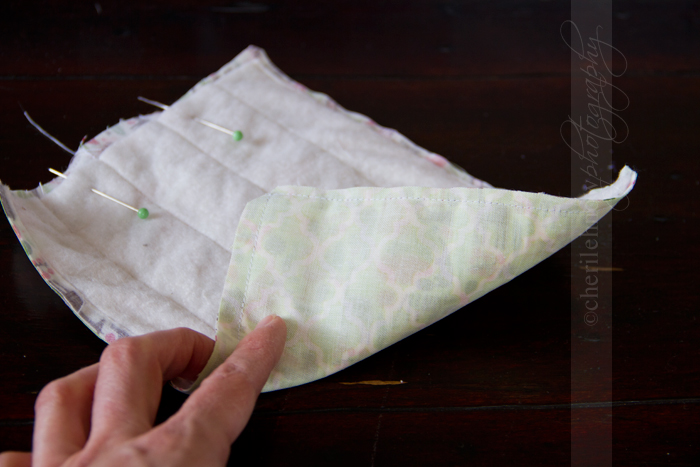
Turn the cover inside out using the opening, push the corners out and iron flat. Now tuck the extra fabric from the opening inside and stitch completely around the edge.
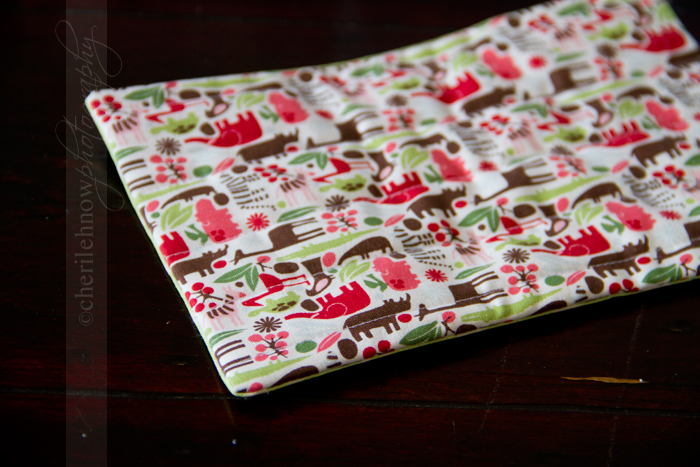
Place your velcro strips in their appropriate locations. I put mine as close to the outer edge as I could since the 8" size is a pretty snug fit.
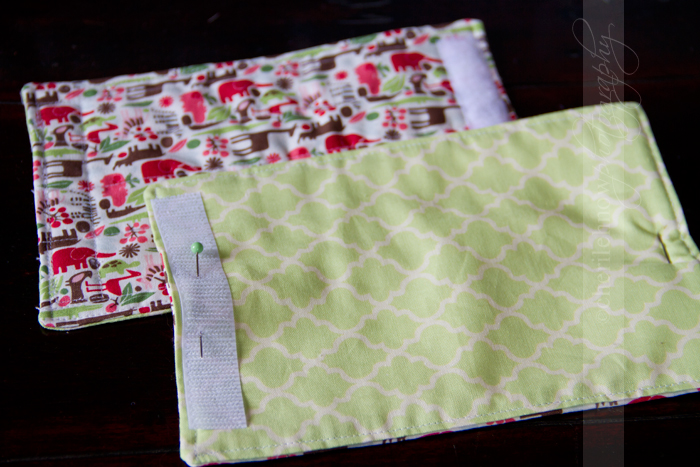
Once you've done that and snipped off your extra threads, you're done! I thought they were pretty easy and fast. And they look fairly snazzy:
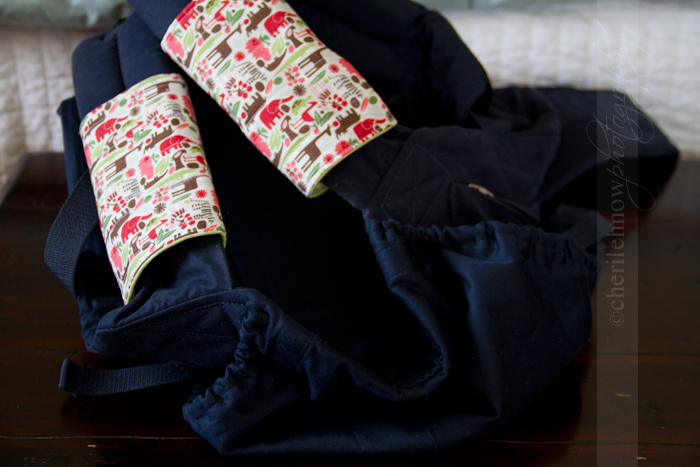
And since you need another set while the first set is in the wash:

Again, let me know if you have any questions! Mine ARE pretty snug fitting, so if you want to play it safe you could always work with a 6"x8.5" template. If any of you talented readers do make some of these, I would love to see them, so link it up for me or email me a photo at tinkerellen@yahoo.com

2 comments:
Beautiful! Thank you for this tutorial. I've purchased some from Etsy but would like to make some of my own as well.
I had the same problem fastening the clip behind my neck until a friend showed me that I could pull the little straps that the buckles are attached to to any position on the padded shoulder straps. They move! You can put them as high as you want behind your neck so it's easier to reach.
You've probably already figured that out, but just thought I'd say. :)
Having just put my ergo to wash AGAIN because there are smeary slobber stains on the straps, I am SO going to make myself some of these this weekend! Thanks for the tutorial!
Post a Comment