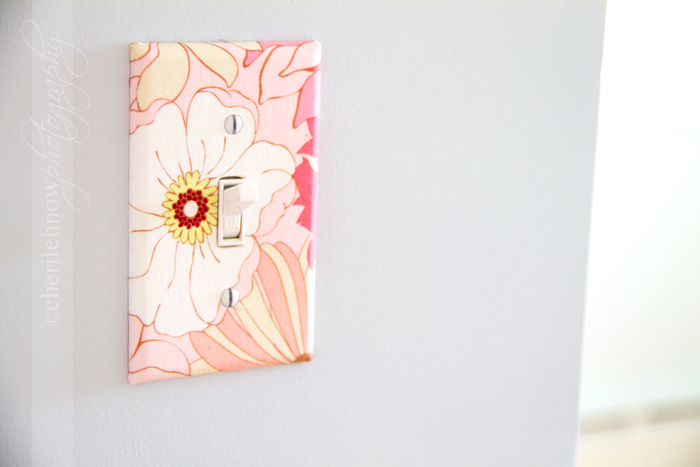
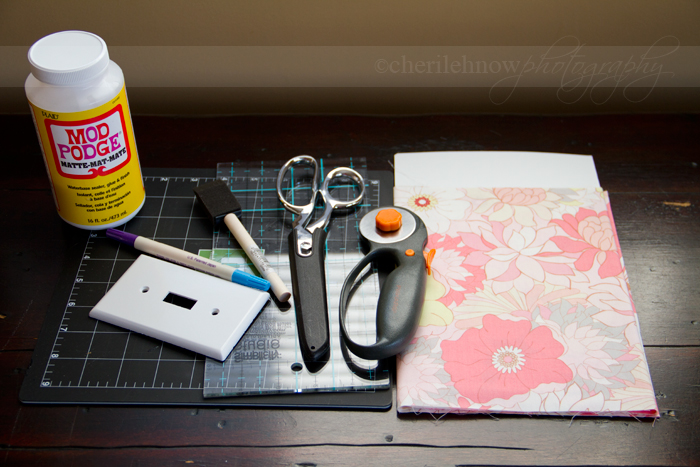
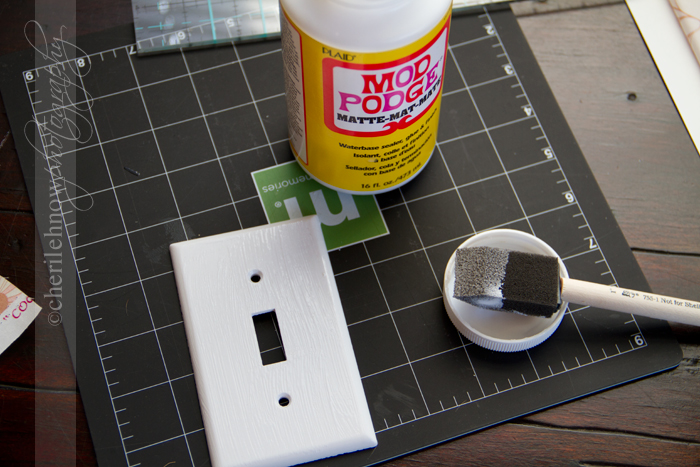
In order to do that, you'll need:
fabric
scissors
mod podge
plastic switch cover
marker
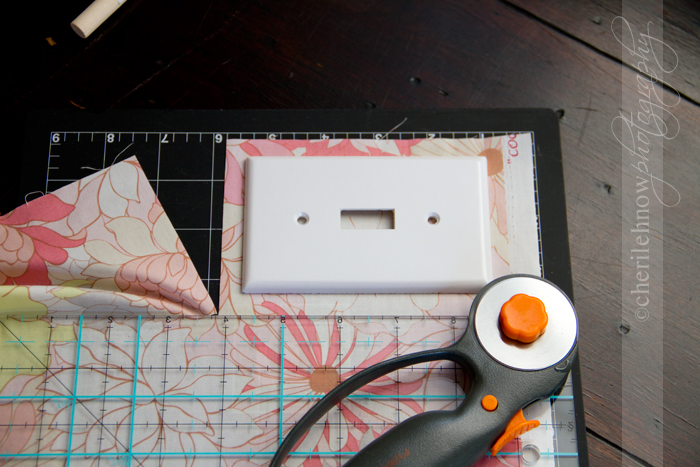
First step, trim your fabric about a 1/4-1/2" larger than your switchplate using scissors or a rotary tool:
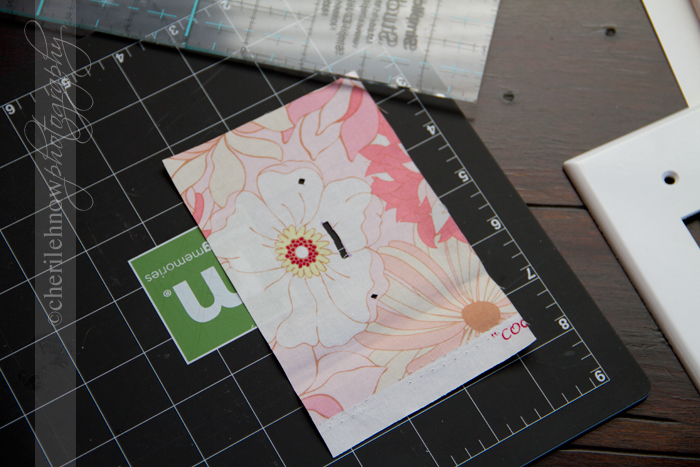
Second step, mark your openings and screw holes on the fabric, and trim using scissors. Leave enough extra material inside the switch square to allow the fabric to fold in and adhere to the back of the plate.

Now, cover your plate with a thin coat of mod podge. Place it on your print side down fabric, making sure to line up your holes. Press flat.
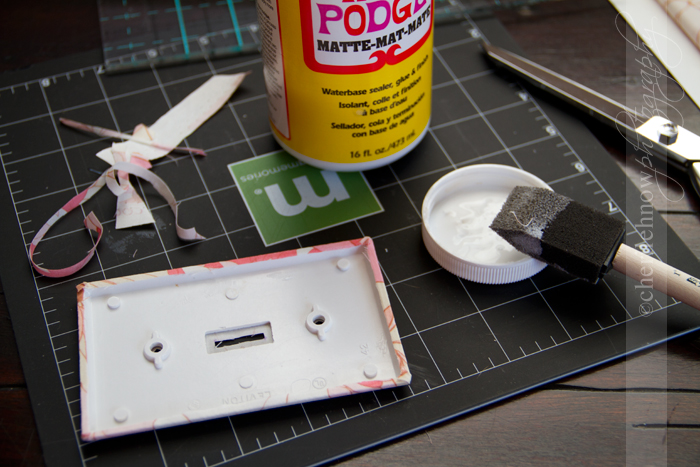
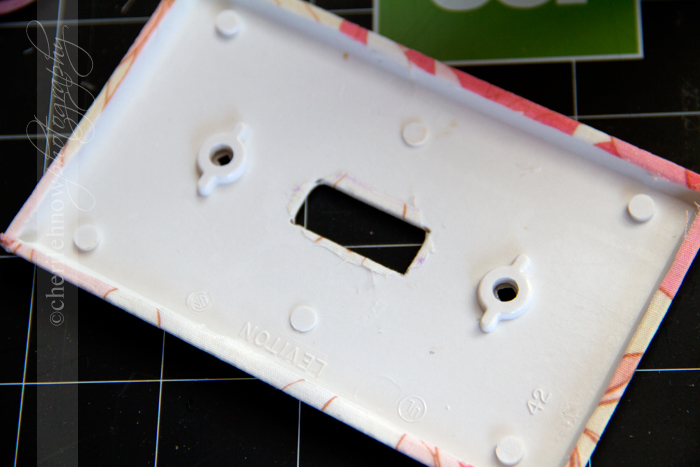
Turn your plate over, and trim the edges, leaving enough to glue down to the plate underside. Cut towards each corner on the inside of your switch hole, and glue to the underside.
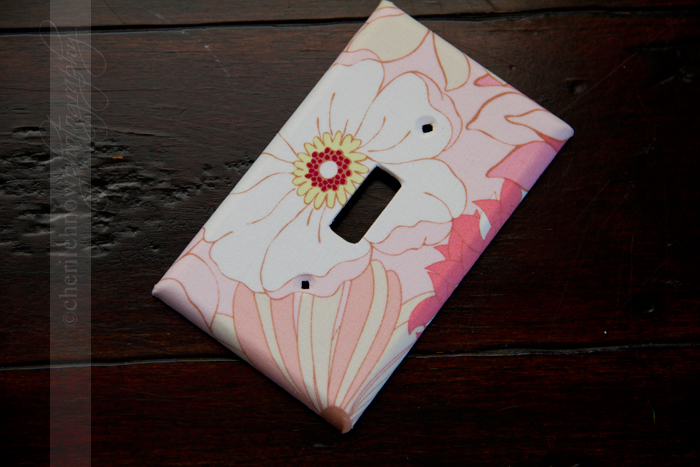
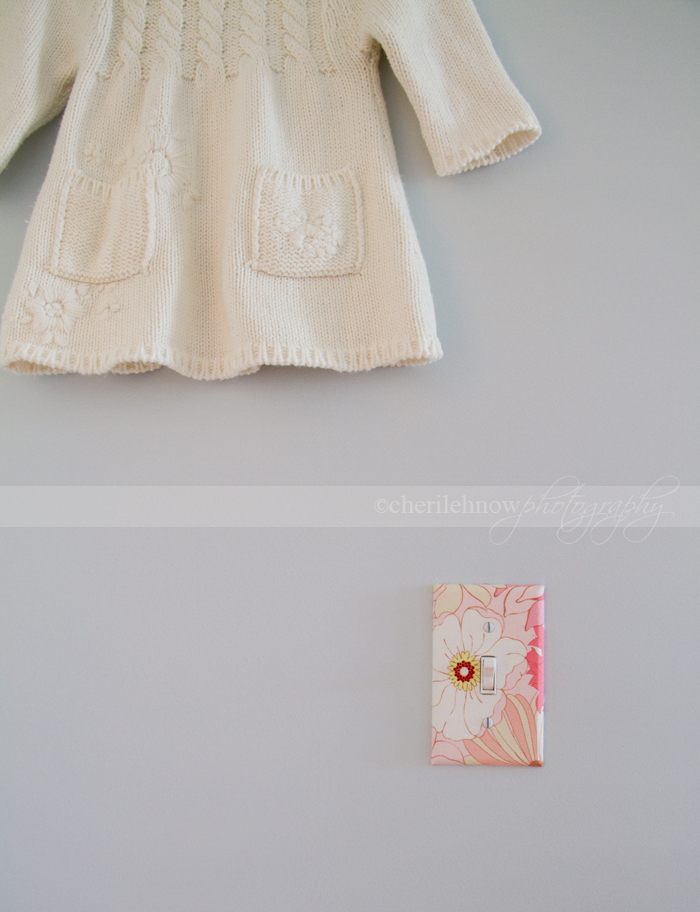
That's it, you're done! Easy right? Perfect for a craft room, laundry room or a kids room. I made mine for the bebe's room. And I love it. It's so cheery.


1 comment:
i am totally going to try this!! Love it!! Thanks for the how-to's :-)
Post a Comment