Are you sick of pincushions yet? {Or exclamation points for that matter?!?} I know i'm not, but I like things in multiples, so it's hard to judge. Here is the tutorial that two very cool people asked me to post. It's pretty much a rip-off of an online tutorial I found, but the link no longer works for me, so here's my version: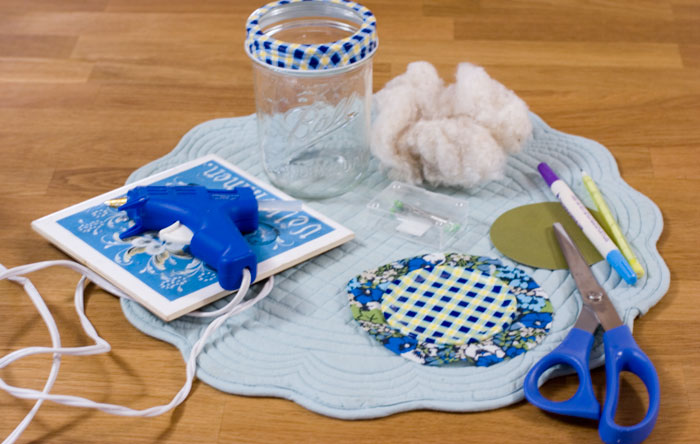
Supplies needed: hot glue gun, ball jar with removable lid center, stuffing, cardstock, scissors, fabric, pencil/pen, coordinating pins.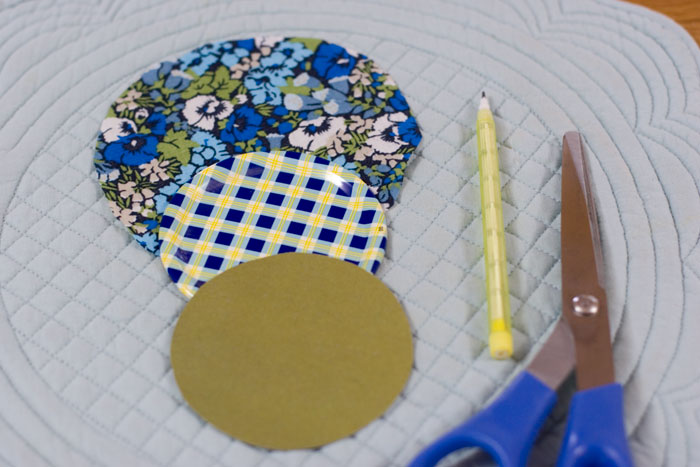
Step 1: Trace your lid center onto the back of the fabric you'll be using and the piece of cardstock you need. Cut the fabric leaving about .5 - .75" excess around your drawn circle. Cut the cardstock on the actual drawn line.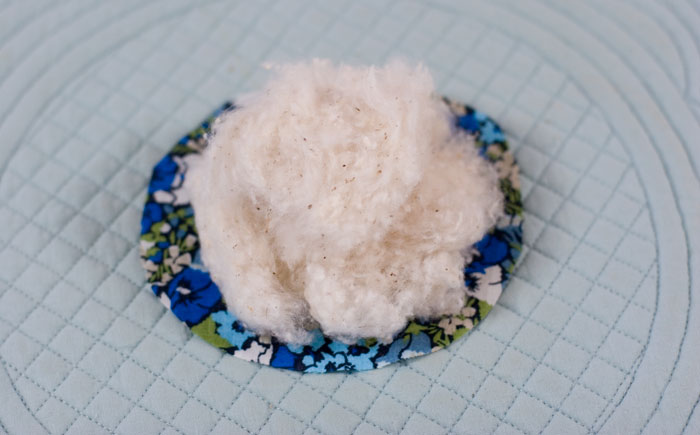
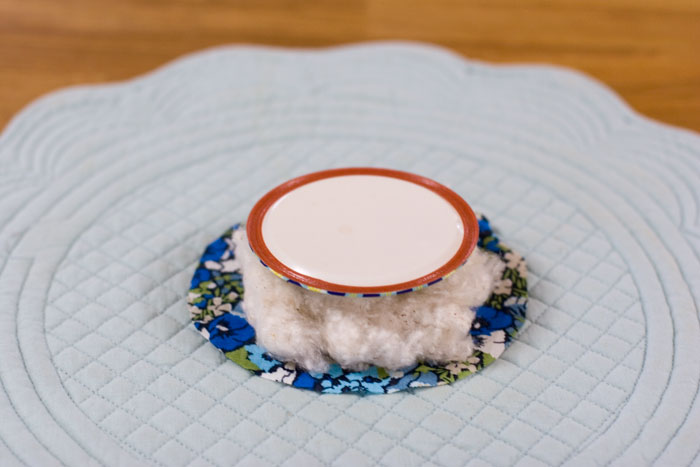
Step 2: Place stuffing on wrong side of fabric, then put lid center on top.
Step 3: Push through lid top and hot glue edges of fabric down.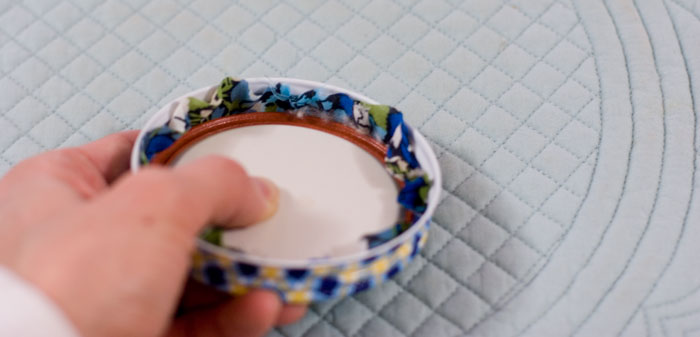
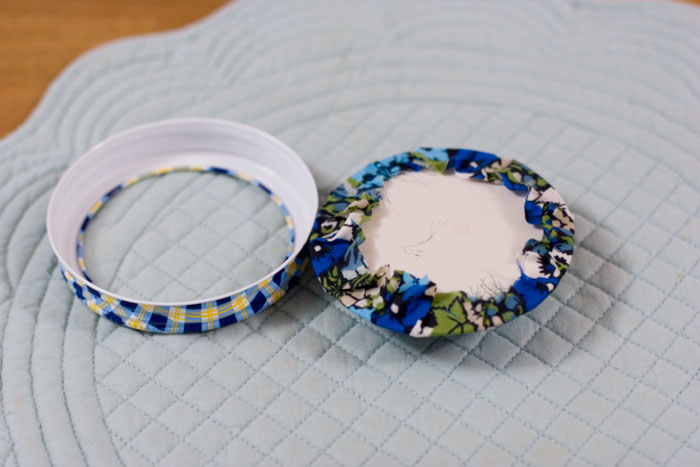
Step 4: Hot glue cardstock to bottom of lid center. This isn't necessary but it gives it a clean look. You could probably do the same thing with ribbon or more fabric.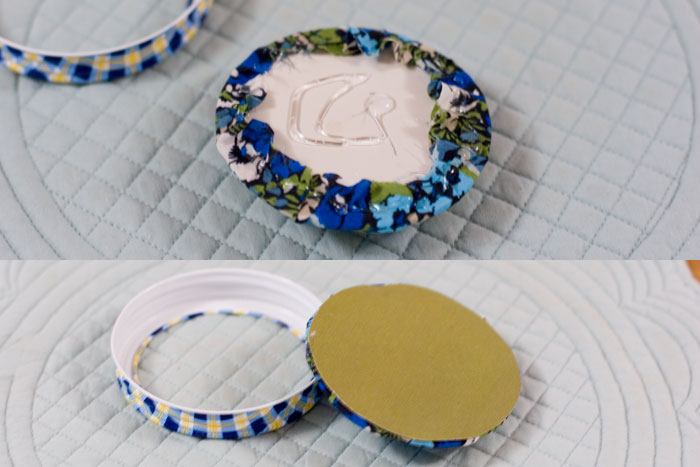
Step 5: Reattach to jar, insert coordinating pins and voi la! You're done. 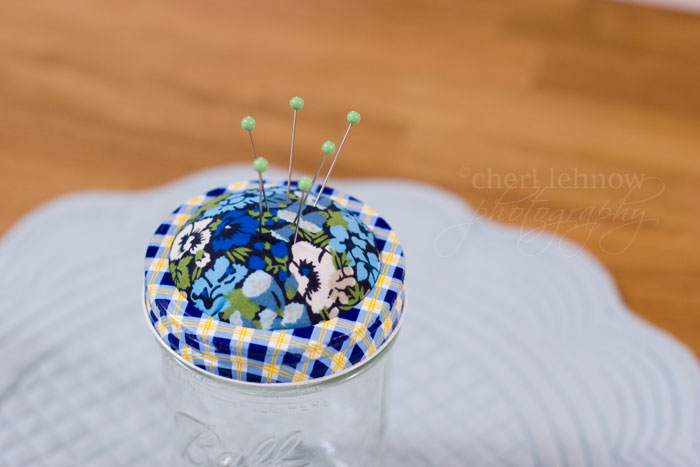
Step 6: Sit down and admire your craftiness. Preferably with some hot tea and a brownie in hand.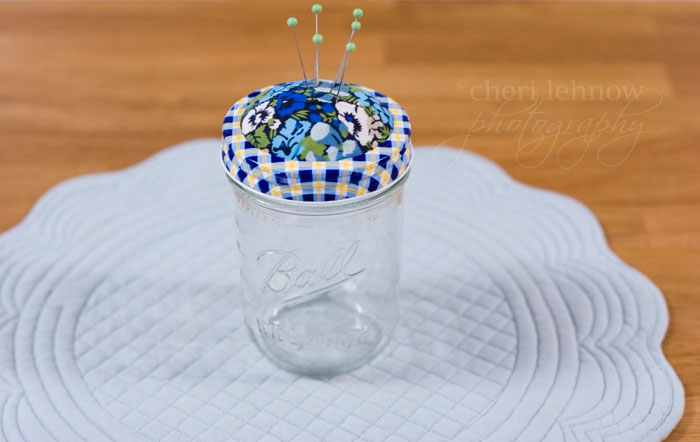
{A Tinkerwiththis crafty tip: look in unusual places for small amounts of inexpensive fabric. Like clearance cloth napkins or baby receiving blankets. This fabric is Liberty of London men's boxer shorts! I bought it on clearance for only a couple of dollars.}
Tuesday, April 05, 2011
it's a pincushion! it's a tutorial! it's totally rad!
Subscribe to:
Post Comments (Atom)

3 comments:
please tell us Justin never wore those boxer shorts har har!
Another great gift idea. At this rate, I'm going to have 15 per person by Christmas.
Super rad!! But where on earth did you get those super cute mason jar lids? I love those!
Post a Comment