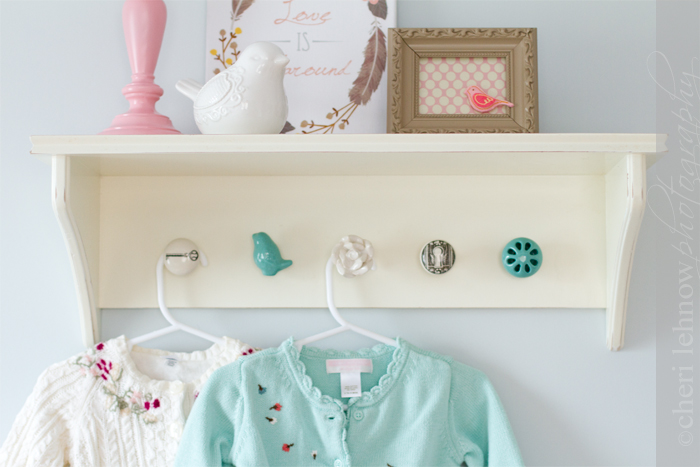
First, it was white {off-white}, and in pretty good shape, so instead of painting it again, I decided to give it a quick distressing with my sandpaper block. If you don't have one of these, it's not necessary but it does make the job easier then working with just the paper.
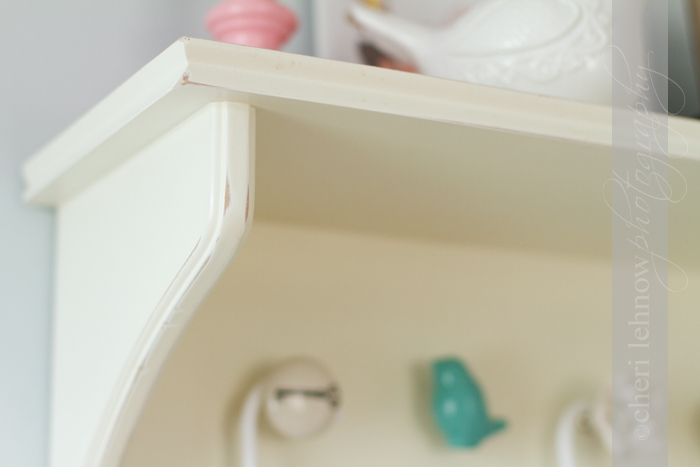
Second, I measured for, marked, and drilled the holes where my new knobs would go. Now here's the tricky part. The knobs are long screws held in with hex nuts, which means, to make them flush, I had to partially drill a larger hole in the back of each of my holes I already drilled. This way the nut fits into the hole, and becomes flush with the back, so there are no hanging issues.
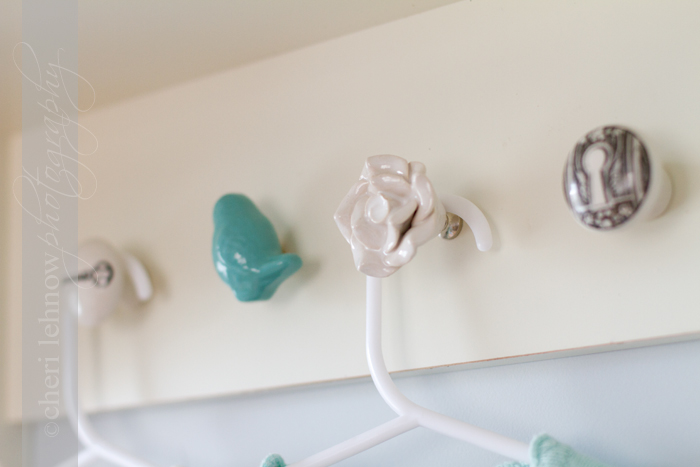
The following step is daunting. I have a Dremel, and a metal cutting blade, but if I didn't, I don't know what I would have done. All that extra screw coming out of the back had to be cut down, again, to make everything flush. All the sparking made me nervous, but as long as you wear gloves and safety goggles, you should be fine. Don't take my word for it though, I kept imagining my basement up in flames!
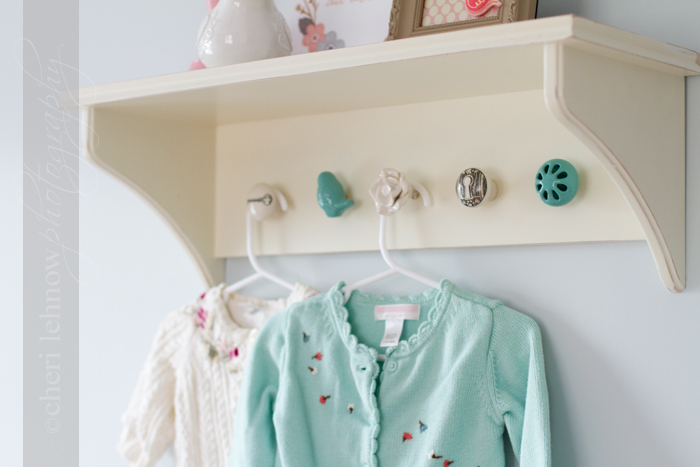
All in all, it was an easy enough project, with the right tools. I wish I had better pictures for you, but unfortunately I didn't think to stop at each step since I was so excited about getting it finished. The whole project ended up costing me $13 dollars, which is not bad, considering it's one of the cutest things in there now!
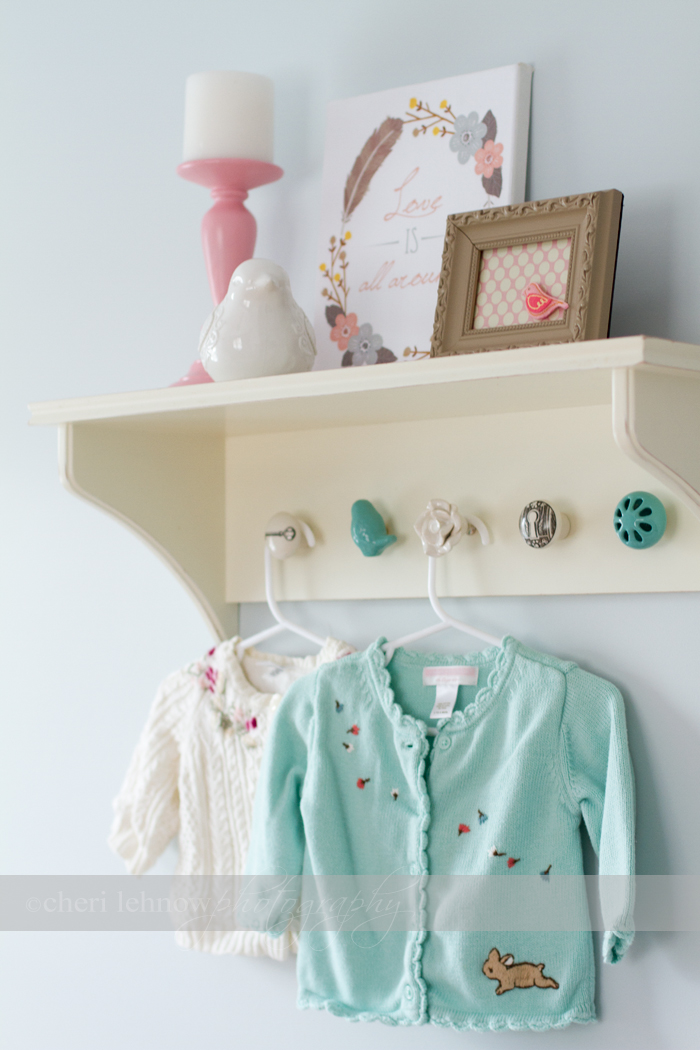
love it when the unexpected happens! those knobs are adorable and perfect for bebe's room.
ReplyDelete