Obviously. It's been a bit of a whirlwind around here lately with no sign of slowing down. But it's ok, I like it that way. Today is a photo editing day, so I'll leave you with some things I currently love. Now you can stare at them until I actually have some real time to share with you all. Cheers!
some bird love:
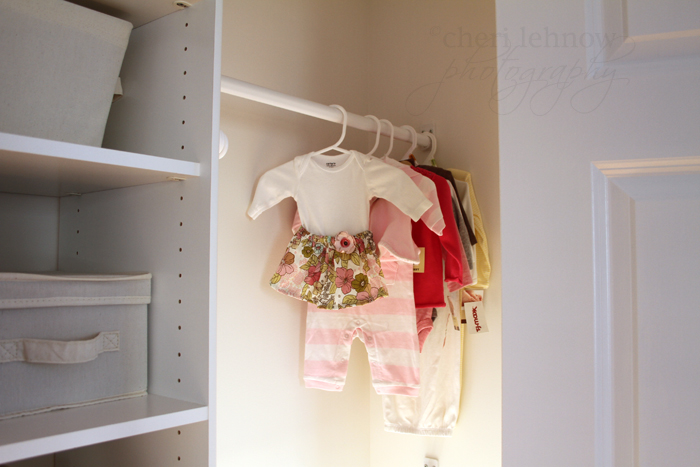
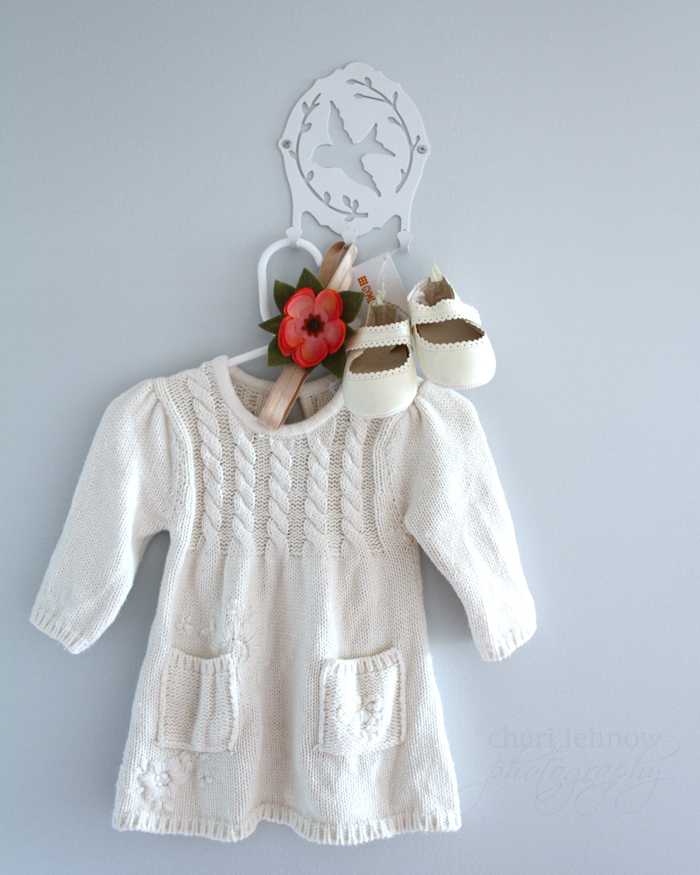
seeing all the mini-clothes lined up in a row:
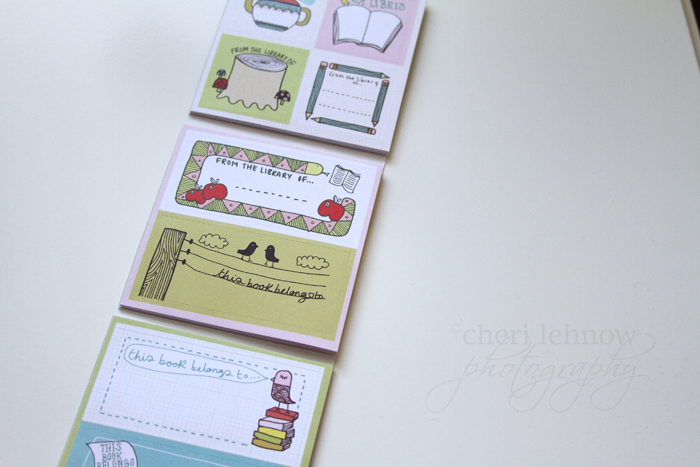
some book label love for a wee library:
and a favorite new {second-hand} outfit:
Monday, September 26, 2011
Wednesday, September 14, 2011
L is for Letter
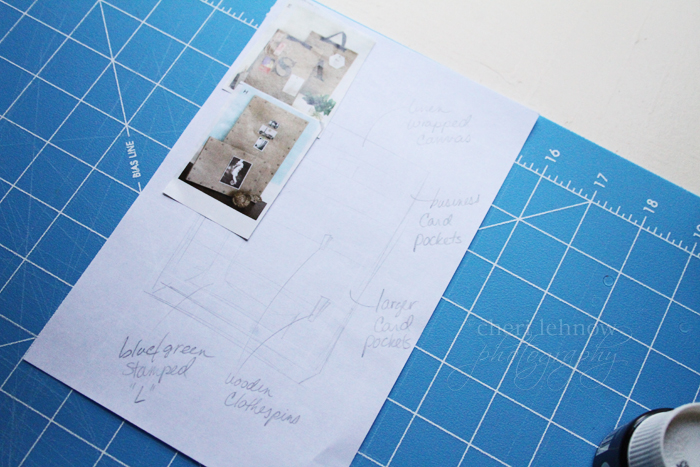
I'm busy with work this week, but I thought I would pop in and share another tutorial with you. This one is for a catch-all message center. It's quite simple to make really, the biggest tool you'll need that you might not have is a staple gun. Absolutely worth the money to have around, so invest if you can. There are a lot available for about 20 dollars or so at your local hardware store. I usually think of these ideas {off of other inspiration I see} and start doodling something so I don't forget my train of thought, like so:
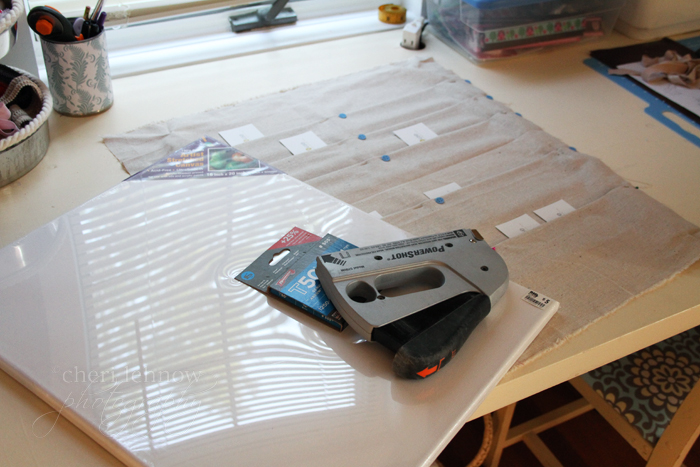
To begin, here are some of the supplies you'll need for step one: a canvas, piece of fabric {i've used linen here}, a staple gun.
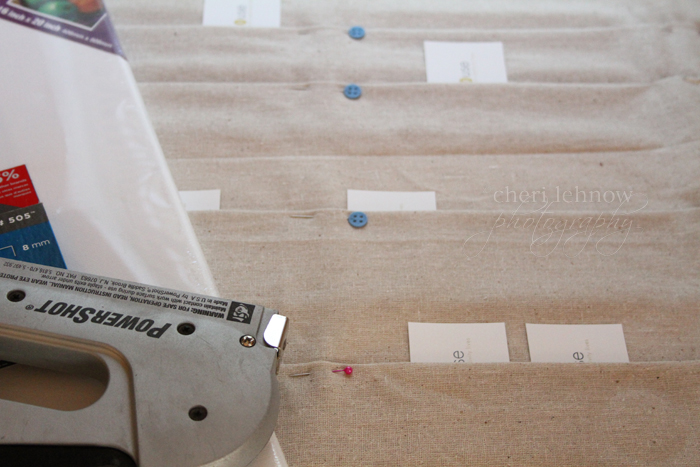
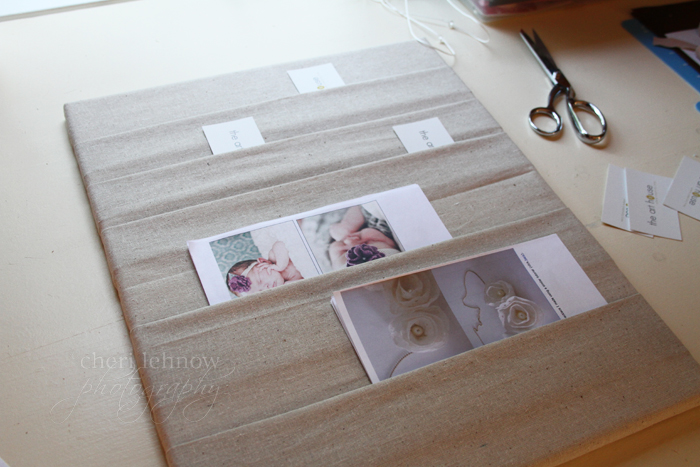
Now, iron your fabric into folded sections, so you can pop in business cards or postcards or mail. The sizes of the pockets are totally up to you, so you can customize it. Keep everything pinned for safe keeping.
Wrap the fabric and pockets around the canvas and staple onto the back. It's not pretty, but luckily no one will see that part. Do the sides first and pull tight, so your pockets won't sag.
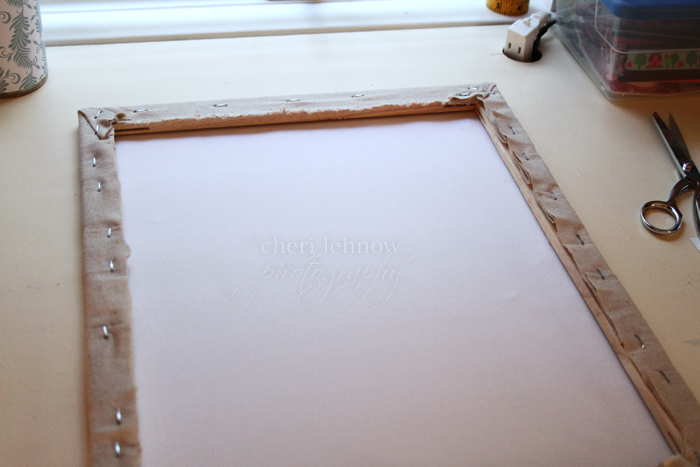
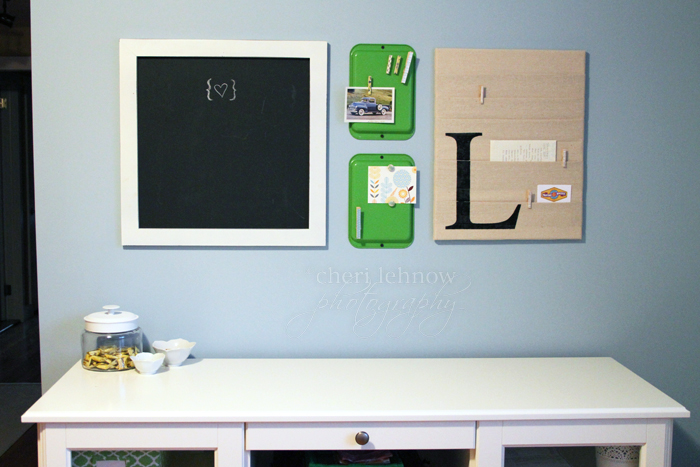
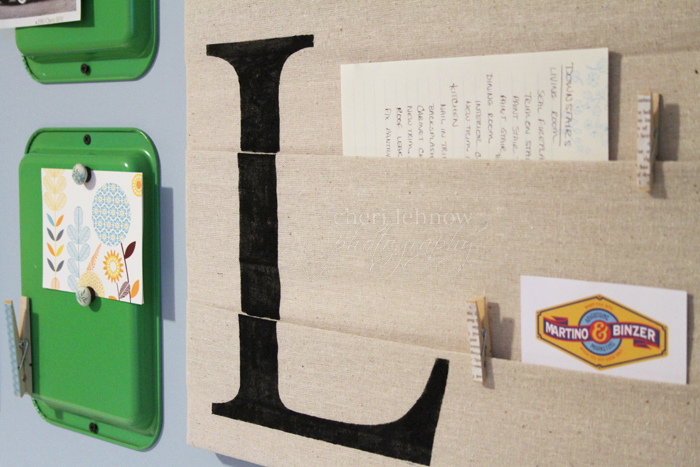
Alright, you should have a board that now looks like this:
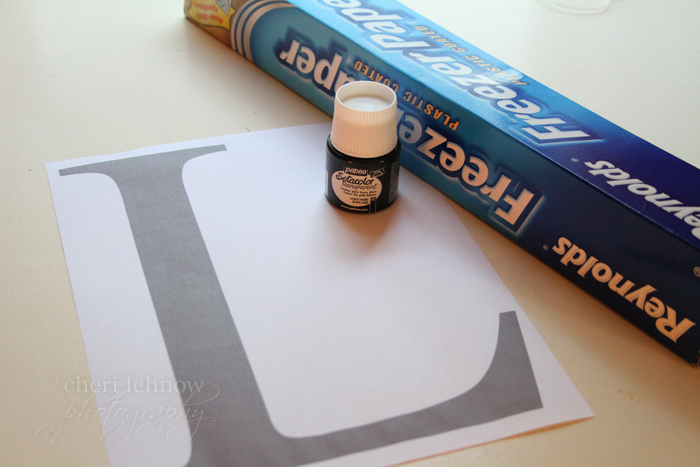
The next step is optional, step two. For step two you'll need some new supplies, like an xacto knife, some fabric paint, freezer paper and a printed letter/design of your choice.
Trace your letter onto a sheet of freezer paper, wax side down.
Now cut it out carefully using an xacto knife {another quality investment if you don't own one}. Iron your design where you want it on your board, wax side down:
Fill in the stencil using a sponge and your fabric paint. And that's about it! Hang once it's dry and admire your handywork, ahhh:
To begin, here are some of the supplies you'll need for step one: a canvas, piece of fabric {i've used linen here}, a staple gun.
Now, iron your fabric into folded sections, so you can pop in business cards or postcards or mail. The sizes of the pockets are totally up to you, so you can customize it. Keep everything pinned for safe keeping.
Wrap the fabric and pockets around the canvas and staple onto the back. It's not pretty, but luckily no one will see that part. Do the sides first and pull tight, so your pockets won't sag.
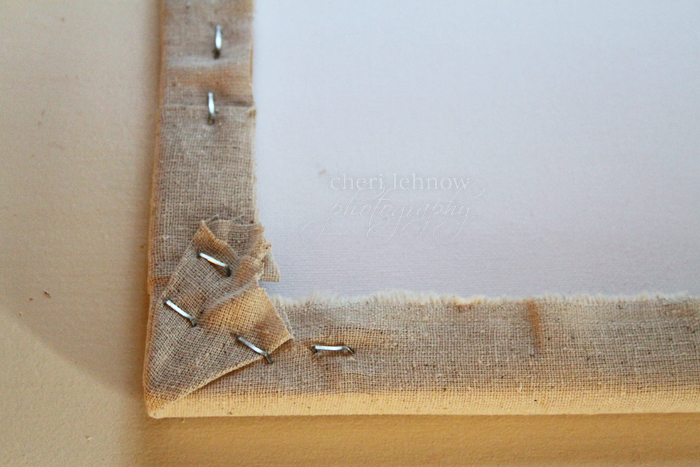
Alright, you should have a board that now looks like this:
The next step is optional, step two. For step two you'll need some new supplies, like an xacto knife, some fabric paint, freezer paper and a printed letter/design of your choice.
Trace your letter onto a sheet of freezer paper, wax side down.
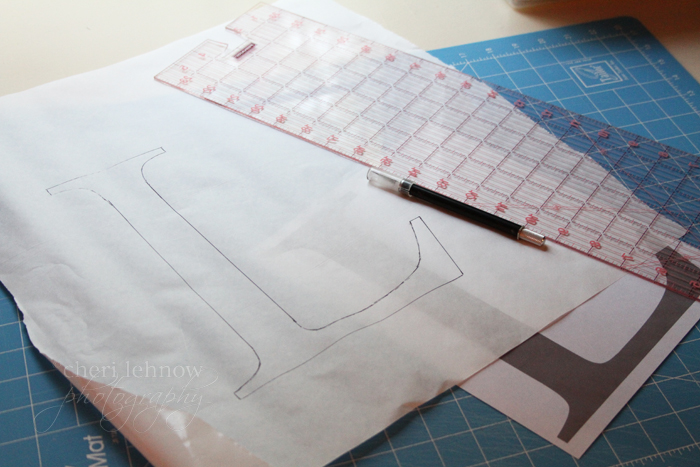
Now cut it out carefully using an xacto knife {another quality investment if you don't own one}. Iron your design where you want it on your board, wax side down:
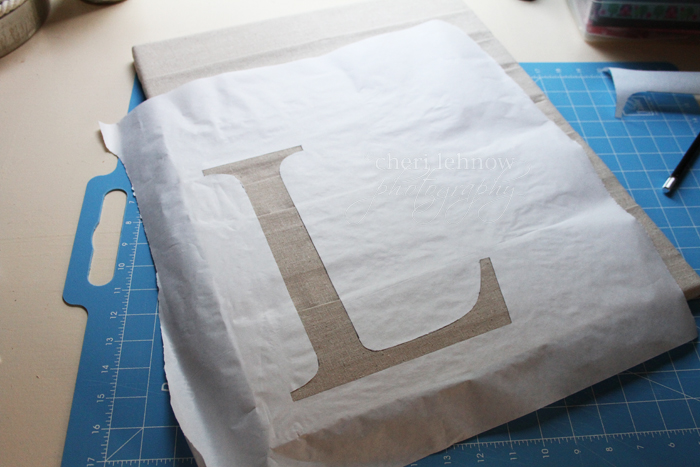
Fill in the stencil using a sponge and your fabric paint. And that's about it! Hang once it's dry and admire your handywork, ahhh:
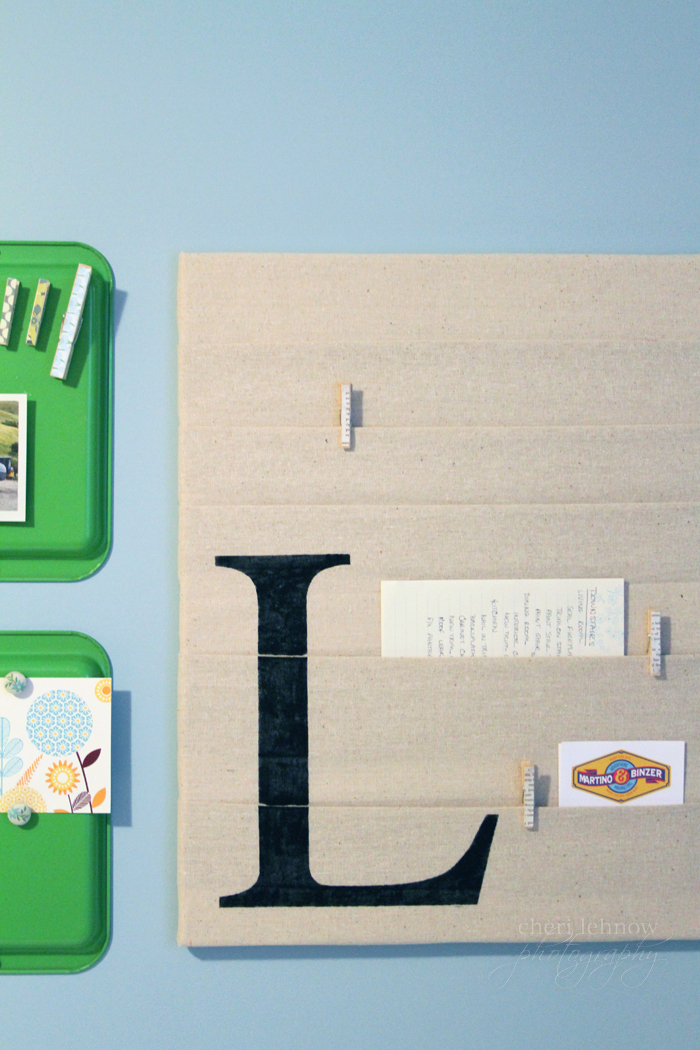
Friday, September 09, 2011
Stinking Adorable Onesie skirt tutorial {onesie dress?}
Okay, who wants to make one of these? It's so simple. I came up with the idea out of a 'how-would-i-ever-use-this?' moment.
Here's what happened. I like to buy sheet sets, vintage or new {new when they're marked down and super inexpensive}. It's a great way to get a lot of fabric for a little bit of money. Fabric shower curtains are good for this too, along with tablecloths. In other words, I'm no stranger to the Target clearance aisles. Anyway, I bought two sheet sets in two patterns I liked for baby stuff. While I was cutting up the fitted sheets to make a pillow, I thought to myself, these are good scraps with elastic already in them, what can I make out of them??
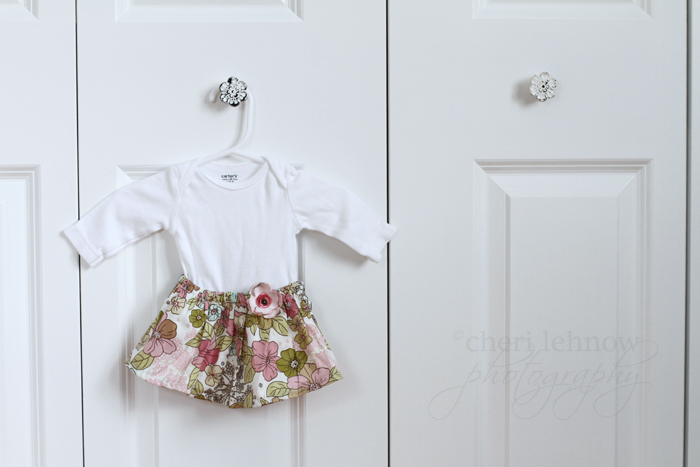
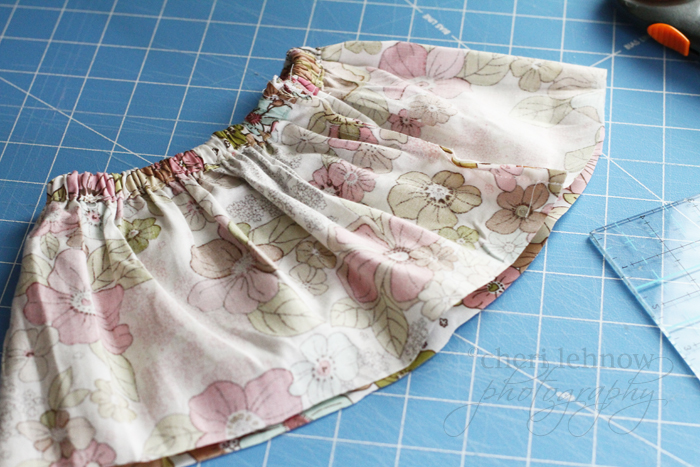
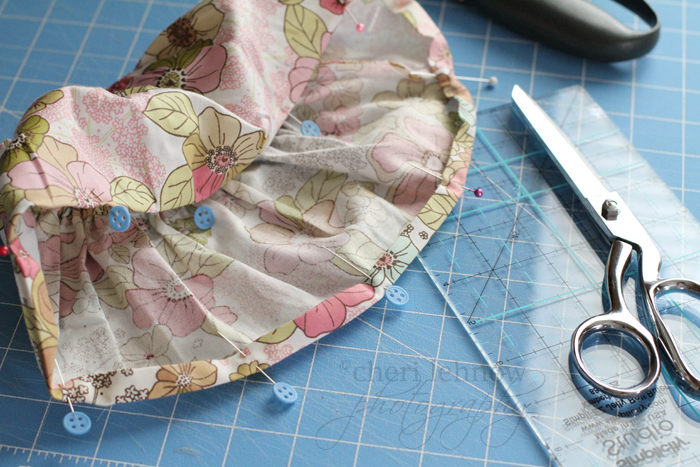
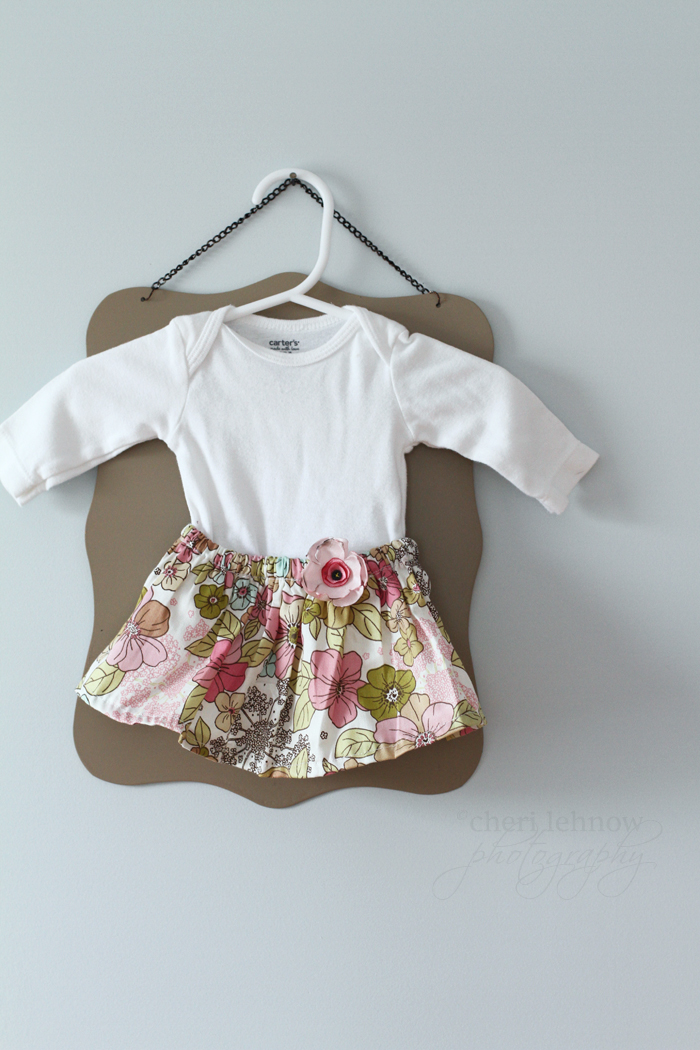
So voi la, we have a lovely baby onesie with an attached skirt. Here's a tutorial for anyone who wants to make one yourself. This one took me about 30 minutes start to finish, and I had to pause to take photos. So start with cutting up a fitted sheet, leaving about 6 or 7 inches from the elastic edge. Make sure to pin the elastic bands so you don't loose them inside...then measure around your onesie and sew ends together.
Now is a good time to cut the bottoms more evenly:
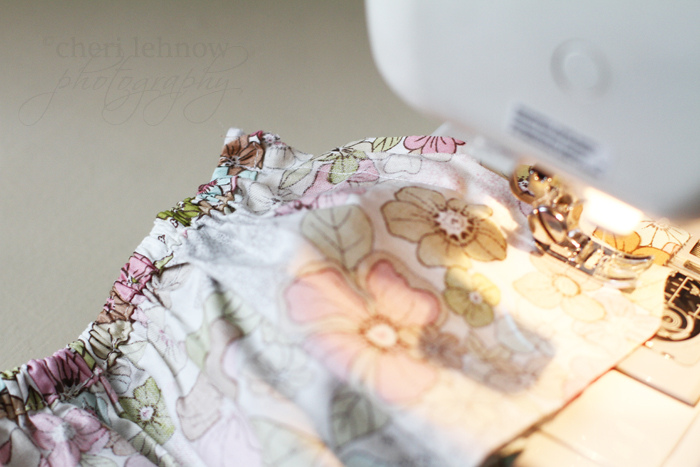
Take your skirt and iron down the bottom hem, pin and sew.
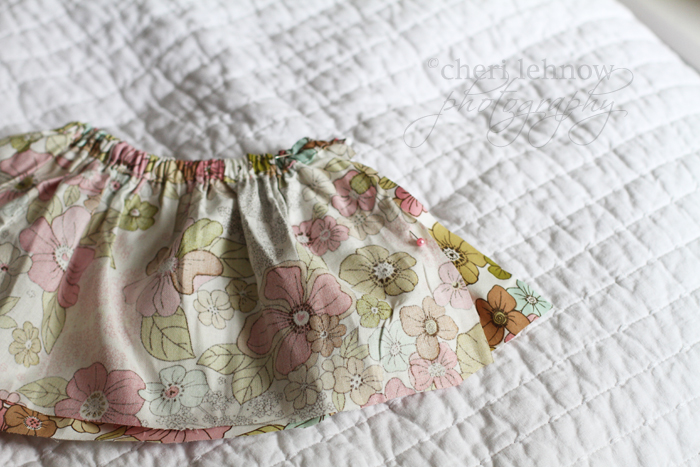
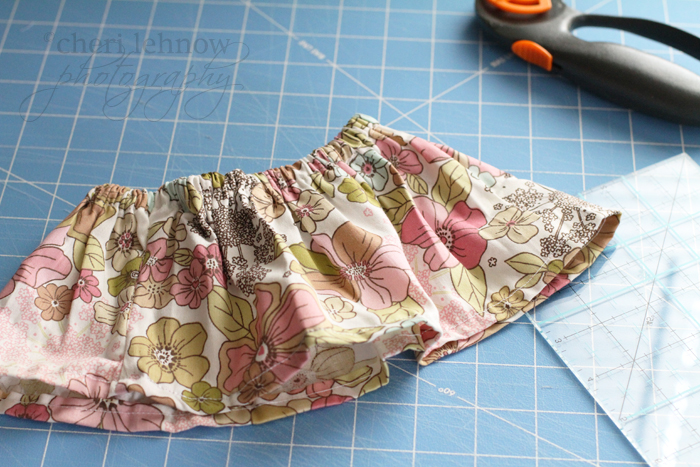
Now you should have a cute looking wee skirt:
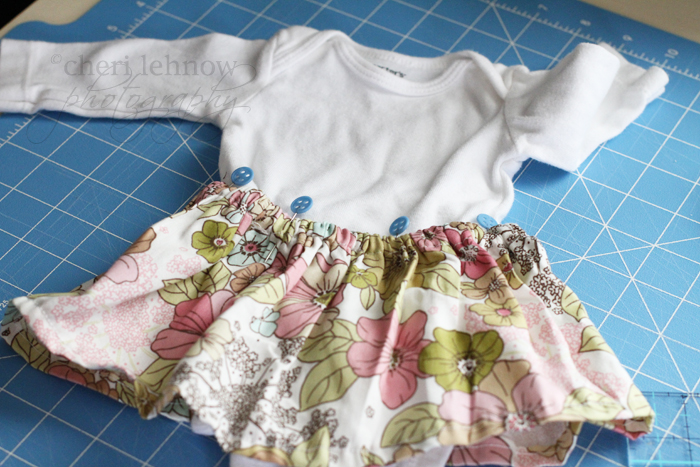
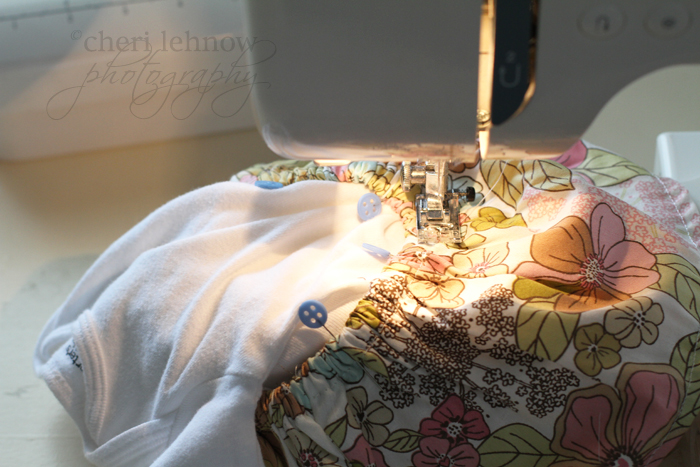
Attach to your onesie keeping the long seam in the back. I followed the stitch that was already on the fabric, just below the elastic band.
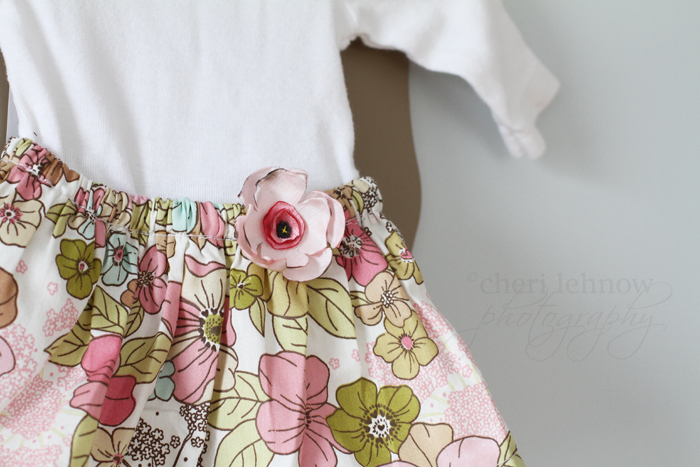
There you have it! Easy, yes? Mine needed a little something, so I added the fabric flower with a quick stitch. {I'll show you all how to make the flower sometime soon.} So, what do you think?? Honestly, you could whip these up in 15 minutes, once you got the hang of it. GREAT for personalized shower gifts.
Thursday, September 08, 2011
buttoned up
Since I've been feeling like uber crap the last couple of days, I decided to opt for an easy sort of craft to keep me from going crazy. A girl can only sleep and blow her nose so often.
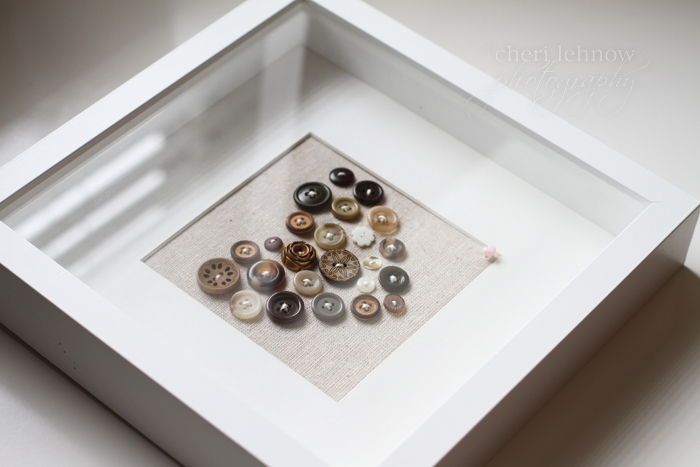
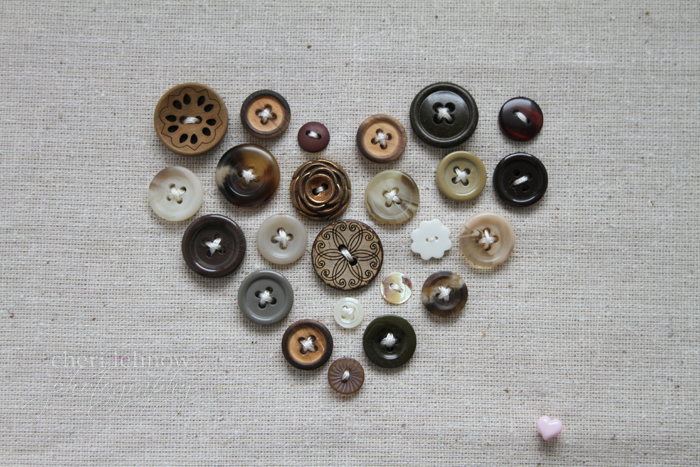
I've had this idea in my mind for a while, and again having been so inspired by what is out there on the internetz, I thought I would delay no longer. The husband is a little freaked out by all things pink, so I'm leaning a lot more of the nursery decor to a much more subtle neutral pallet. Don't get me wrong, there's still a pink chair in there, but almost everything else will be less bold. Thus, the wooden and tan button assortment. {I threw a tiny little pink one in there for fun}.
This is a really simple project to do. Just start with a piece of linen {I doubled it up for added stability}, add your array of buttons and keep a needle and embroidery floss handy. I laid my design out freehand and then marked the button holes with a fine tip sharpie. I did loose my place from time to time, but don't stress about it, no one will even notice. Start to secure all your buttons using the floss.
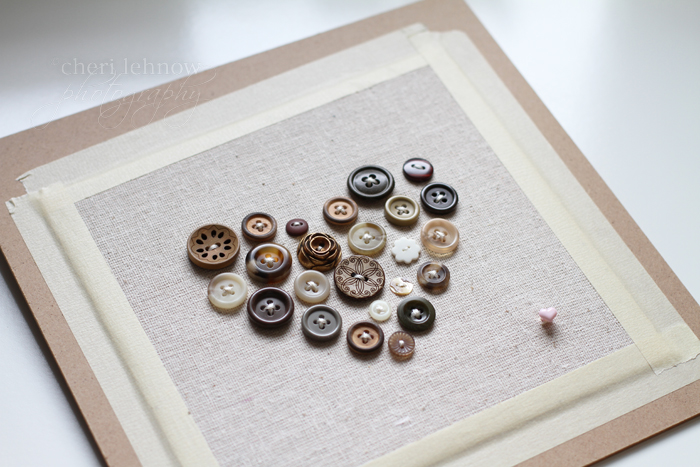
Once I finished, I trimmed my linen down to fit the inside of the frames back cover. I used masking tape and pulled tightly to keep everything in place.
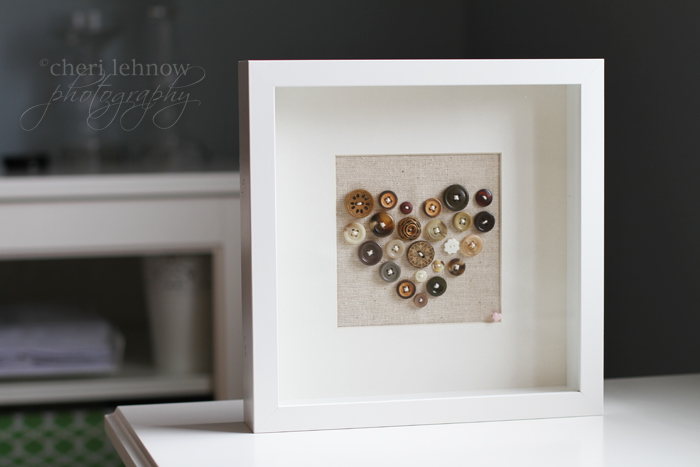
Add your design to your shadowbox frame and you have your final product:
And keep this in mind for Christmas presents. You could include something meaningful to the recipient, like a button from a wedding dress or a small photo decoupaged onto a flat button. You could make their initial or a small sillouette of their house. The possibilities are absolutely endless.
Saturday, September 03, 2011
how about some lobsta?
Here we are, the last hoorah of summer. We decided to take advantage of the amazing weather and the day off, and visit a couple of little Connecticut towns. Our first stop was a town called Chester which is adorable and small and has cute shops and beautiful homes. We decided to head out to Abbott's on the shoreline for some fresh fresh super fresh lobster. Our friend Ruth had never ever even tried lobster. Crazy right? But she is southern, so we'll give her the benefit of the doubt. Not all of us can be lucky enough to grow up with lobstermen uncles.
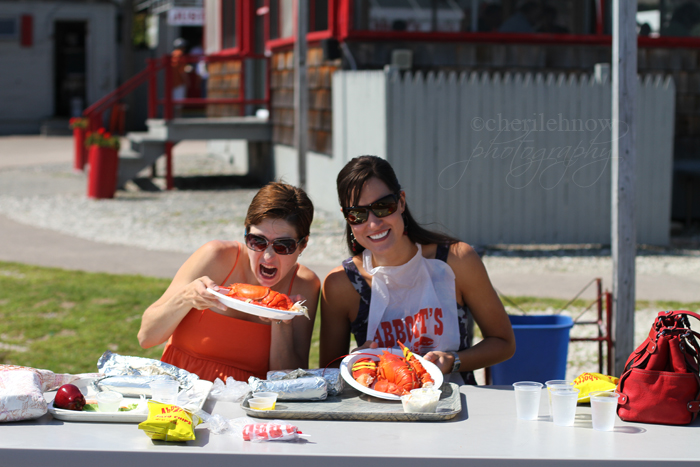
So on to Abbott's where we dined and relaxed, and apparently took most of the photos: Mmm, lobster, too bad I couldn't partake, well, not in a whole one anyway.
And then here's me wishing I could eat the whole delicious beast, and here's Ruth wishing she had a more normal friend:
And of course, here's Ruth indicating her first time with the lobsta, and Justin indicating that he's always number one:
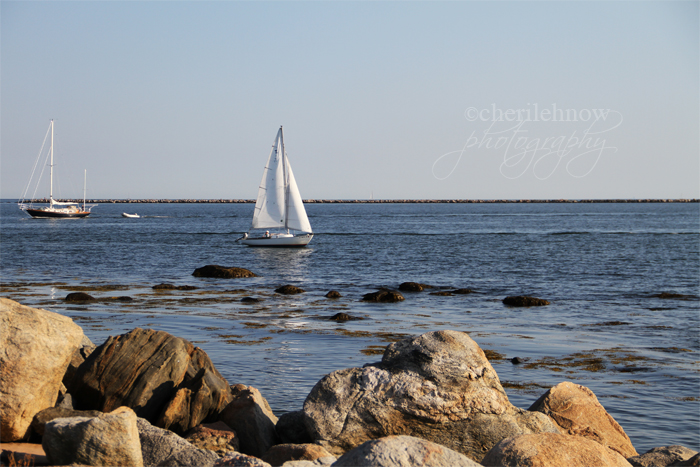
And here's a quick shot off of Lookout Point in Stonington. None of us had ever been to Stonington before, so we gave it a shot. It's right next to Mystic, but it was a lot smaller, more relaxed and less touristy. Everyone was so friendly and welcoming and I personally think it would be a great area to get a summer rental. Being so close to Mystic, there would always be things to do fo' the bebe, and we could just chill on the beach on days we didn't want to mingle.
Anyway, here's to a great summer weekend, hoorah!, goodbye, and thanks for everything.