Wednesday, June 29, 2011
don't let your summer footwear flop
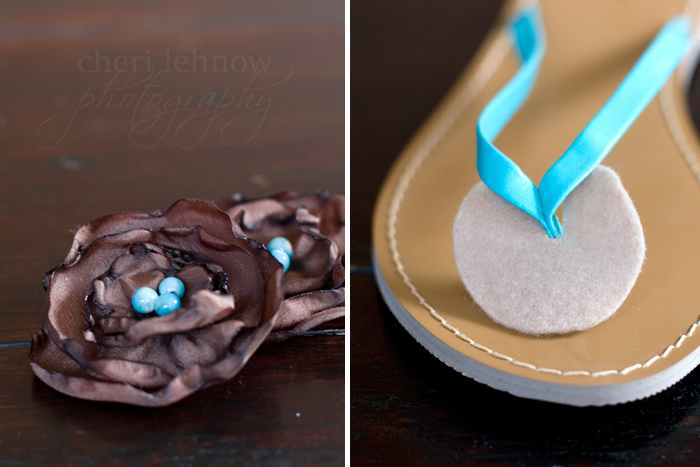
I bought two pair of flip-flops from Old Navy for about 5$ each. Mind you, they're already a half step above the rubber version, but I wanted something more. For less. The story of my life. So all you need is about a half hour per pair, some silk, beads/pearls, felt, hot glue gun and scissors.
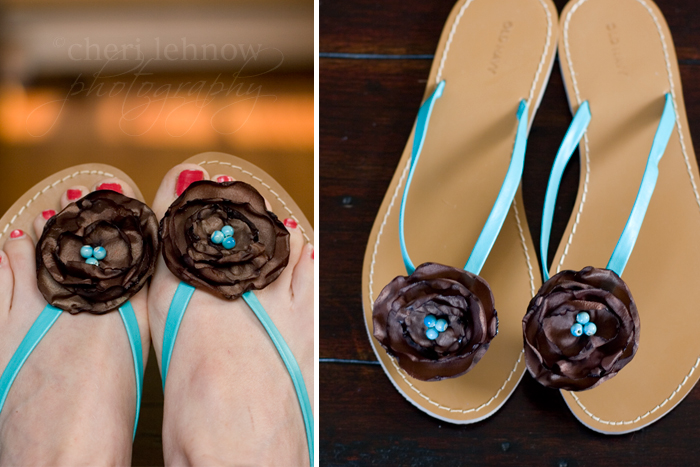
Follow the tutorial here to make your flowers. This isn't the exact way I did mine, I did the circles and skipped the extra cuts, but I like her style flower as well. Then cut two felt circles and turn them into pacman. Glue the pacman mouth onto the underneath of your flip-flop straps. Then simply hot glue the flower onto the felt circle.
And look at that. You now have grown-up flip-flops. And for the sake of the tutorial, I'm showing you my sad in-desperate-need-of-a-pedicure feet.
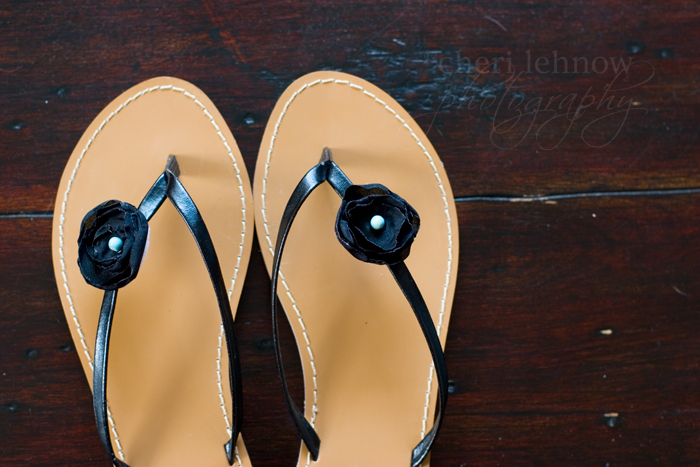
Here's a second pair I did slightly different. Go with it, use your imagination and by all means, show me your nasty toes too!
Tuesday, June 28, 2011
i saw it on the internetz
This was my inspiration.
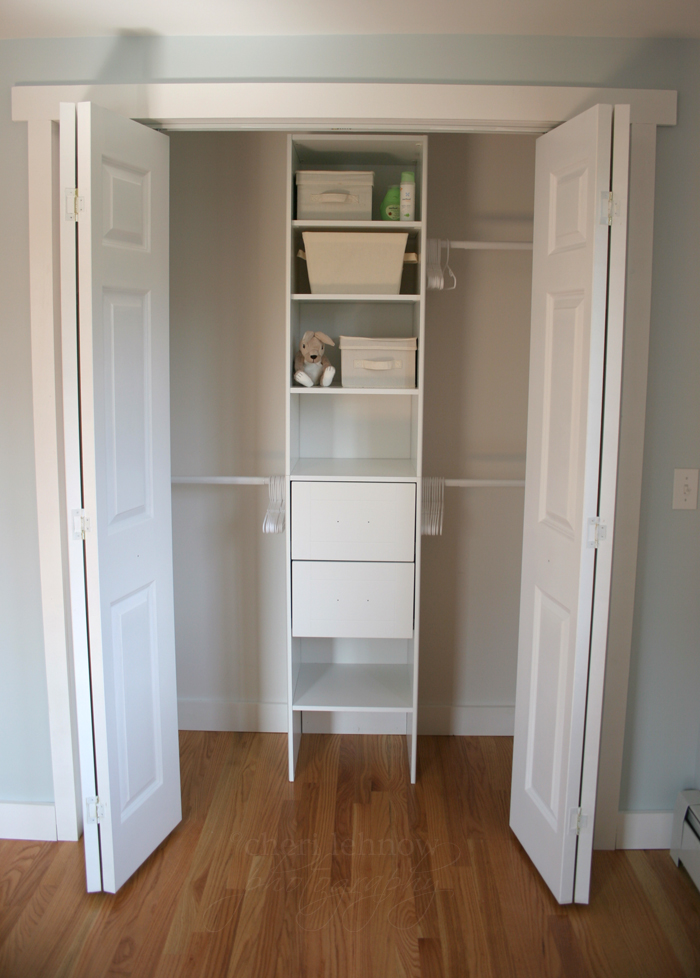
And since you guys are demanding house pictures: although I'm not the type who likes to show not-quite-finished projects, here's a picture of the baby's closet, sans drawer pulls. But I liked this unit, it was easy to assemble and install, and it's secured into the wall so little hands can't pull anything down. The rods are adjustable, so it would work for a smaller closet too. Also the shelves are movable, but once you move them they have screws to tighten and keep them from falling out.
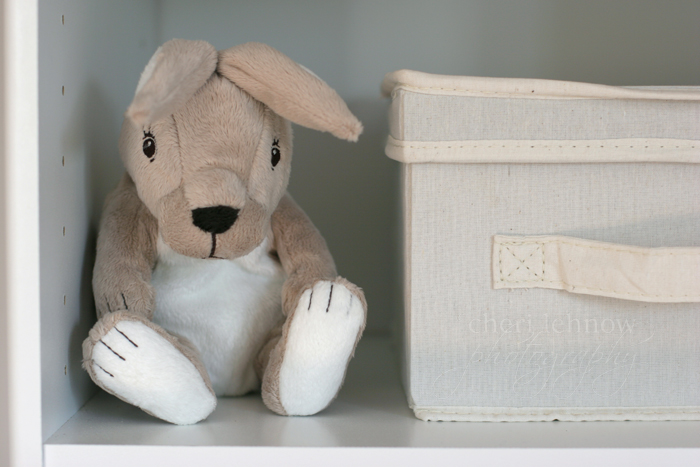
IKEA suckered me into this soft {neutral} bunny. Shame on them.
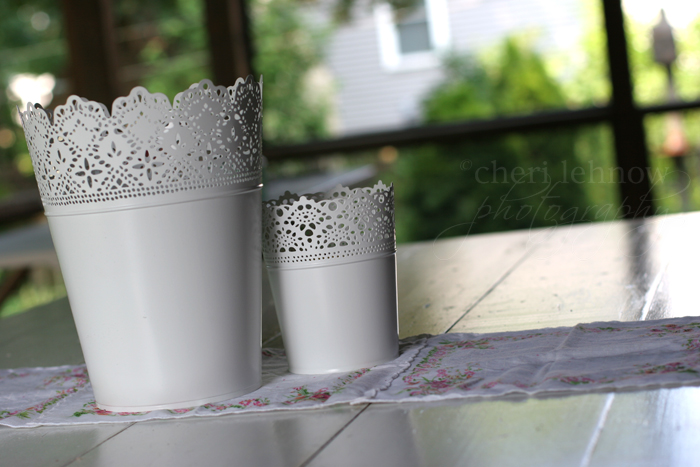
And just because, I'm giving you a quick peak into a future post. These pots are from IKEA and I think they might be the most gorgeous thing I've ever found there. They're in the pots & plants section, but I've bought several for garbage cans, pencil tins, and yes, for plants. These are hosts to citronella candles right now and they look great when lit. You can find your own here.
Saturday, June 25, 2011
5 weeks and counting
Friday, June 24, 2011
wearable summer
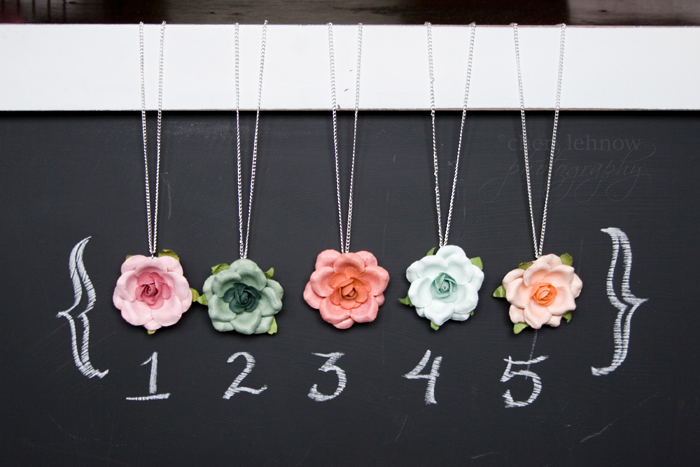
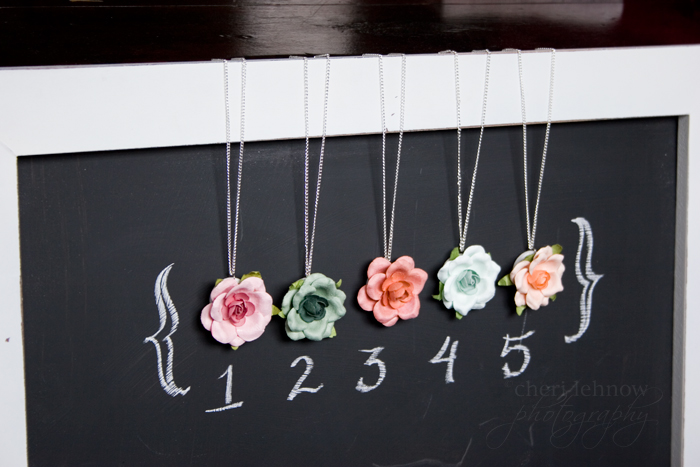
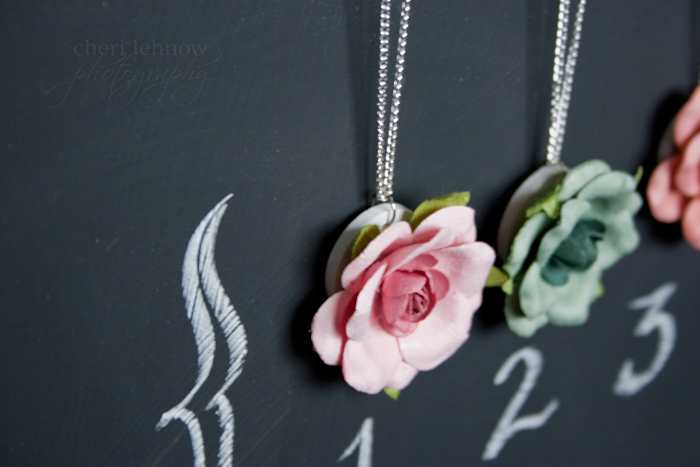
And voi la, we have gorgeous neck wear:
I've attached each one to a white painted wooden circle for durability and comfort on your neck and then to a silver 18" chain. I'm asking $12 each {it includes shipping} and you can pay with paypal or check. I've already picked out mine {not pictured} so these are all the surplus. I'll take first come first serve, you just tell me which number you would like. I'll try to keep updated on which ones are spoken for as soon as they're reserved. If they don't all sell here, i'll move them over to my etsy site, but you guys get first dibs!
Tuesday, June 21, 2011
it's about time
In the meantime, a post I promised: Dan & Bethany's engagement shoot. Well, a quick word about the couple: they're young, vibrant and so in love. I hate them. Kidding, kidding, they're both very wonderful smart sweet people and I know they'll be so happy together.
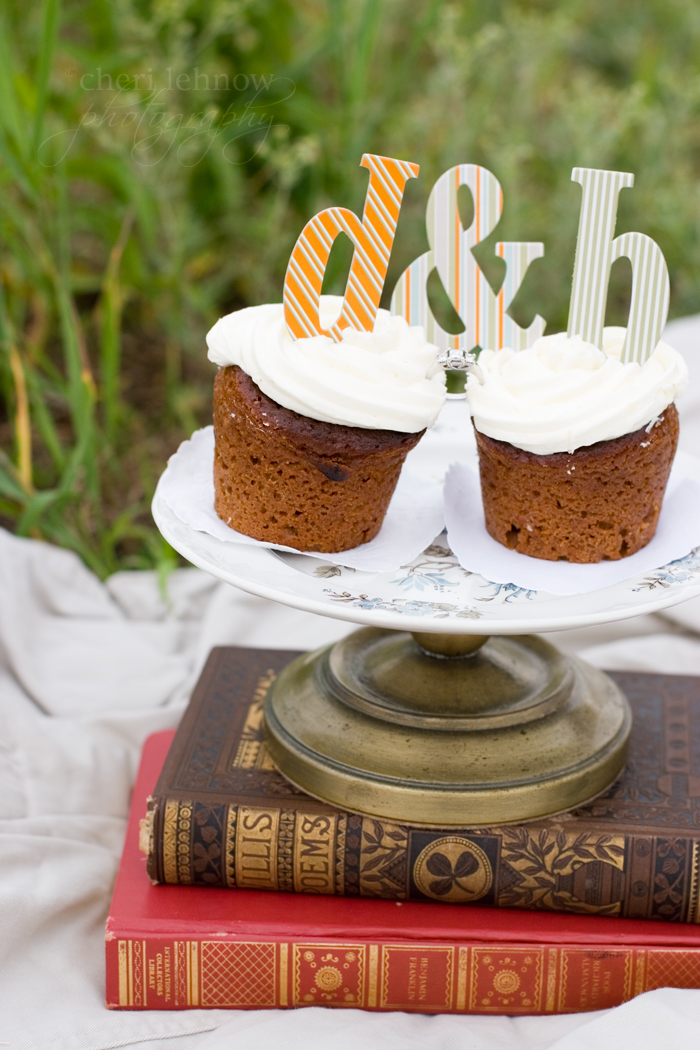
A little about the shoot: This engagement shoot was something to get us sort of warmed up for their wedding, next month. They had planned to come visit for a weekend, and of course, the weekend was wet and cold and not at all picture weather. BUT being, the young vibrant happy people they are, we all decided to give it a go regardless. They were really up for anything which makes my job easy. I gave them both leather boots and accessories and the rest of what you see was mostly picked up from flea markets and thrift stores. We picked daisies during the shoot and even ended up asking an old farmer if we could take a few shots around his farm. After he agreed he quickly added that the cows were already inside, fearing we would be disappointed by that information.
So although I didn't get the warm sunny day I had hoped for or the bright blue sky, I'm pretty happy with the photos. And they loved them, so that makes for a job well done in my mind.
Well, enjoy:
Sunday, June 12, 2011
Thursday, June 09, 2011
pink passion
In the meantime, here's a lovely peony that stopped by my garden for a couple of weeks. And here's to a happy weekend, regardless of poison ivy, morning sickness or weather...
Monday, June 06, 2011
Maybe I just have too many magazine subscriptions...
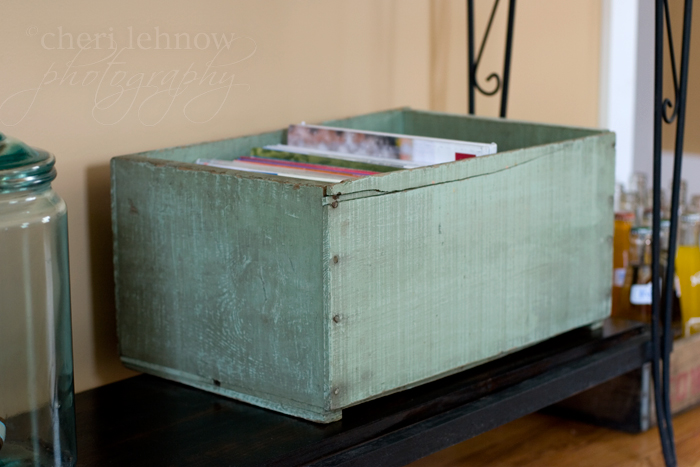
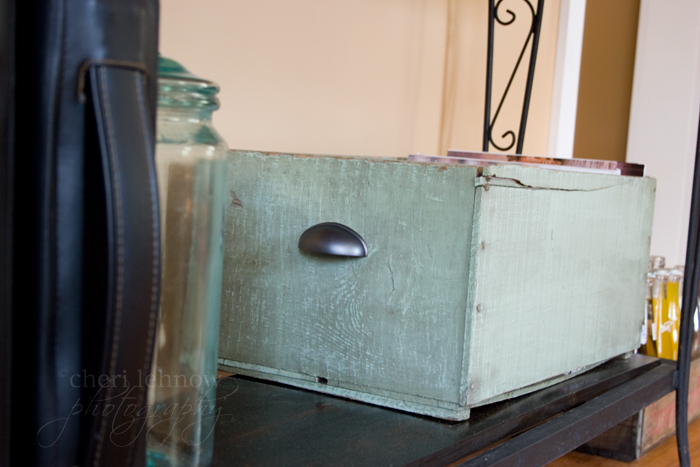
I sanded and sanded and then left it outside to dry since the wood was a little wet from the rain. I didn't do much else to it because I really loved the color and the wear and tear, and why work harder than you have to?
As you can see, it snugly fits magazines. How perfect.
And since I never stop at good enough, I drilled holes on each side and attached some oil rubbed bronze door handles I found at the thrift store, 2 for $1.00. Now I can lift the box easily. And the whole project cost me $1. Come on people. Really?
Saturday, June 04, 2011
a revamped dining room
That being said, this really is a huge 'function' area for us. Basically J gets ready to walk out the door from here in the morning and there are lots of things to gather up and shoes to put on while I make breakfast.
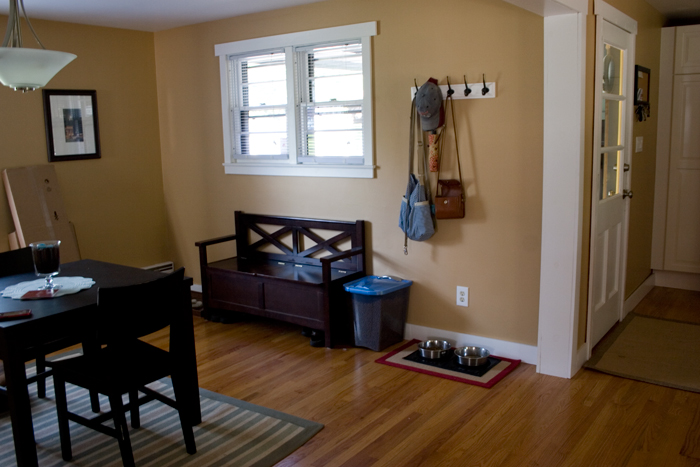
Here's the before, I even left a dustbunny on the floor for you guys:
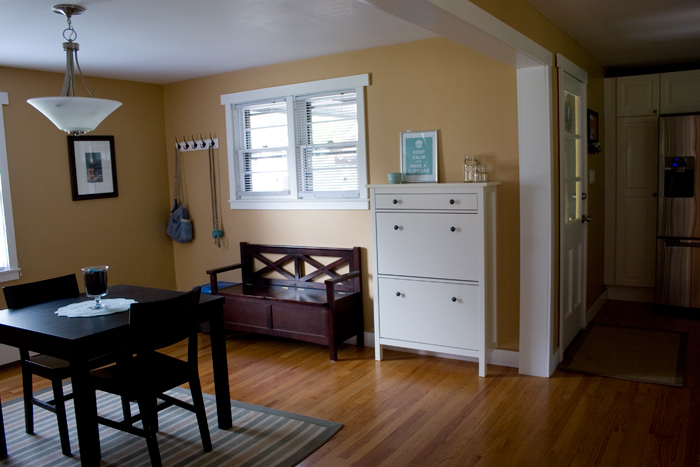
Well after a morning of reading and rereading IKEA directions, we have a new shoe cabinet and a more organized 'station':
This is perfect for us, because there's no chance the dog will ever attack my shoes again. Also, there's a handy small drawer for all J's things. Loose golf tees, small flashlight, wallets, etc.
And since I'm a girl who changes my mind a LOT, here's what it looked like yesterday:
and today:
Friday, June 03, 2011
Dear Blogger,
Thursday, June 02, 2011
miss fix-it: how to patch a hole in your wall
Now I happen to have a lovely old 1950s home, which {lucky me}, came with plaster walls. Yipee! So making holes and un-making holes is not as easy as it is with sheetrock walls. BUT this trick works well with both, so here's some useful information:
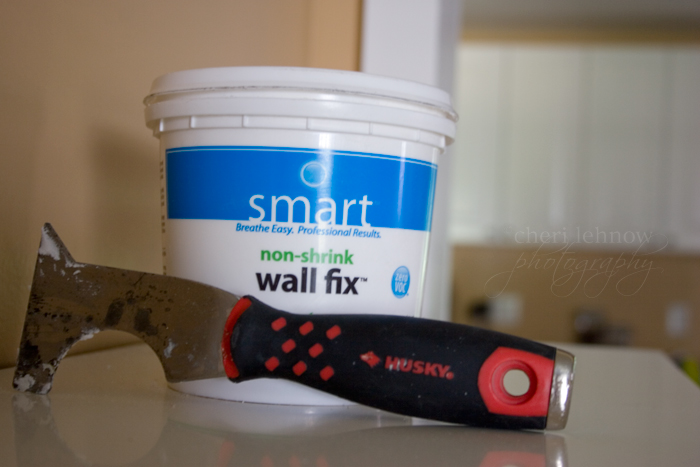
First, this is the putty I've been using to fill my holes. Out of all the ones I've tried {and believe me, I've tried LOTs}, it's my favorite. Plus, it's zero smell/VOCs. Good for preggo do-it-yourselfers. I also use the crap out of this multi-tool found in the paint section of my hardware store. It spackles, smooths, opens paint cans, cleans rollers, etc etc. It's brilliant really, I have two.
First things first, use the flat edge to remove any bubbles, raised edges, anything that could result in a non-smooth working surface. {Sorry I forgot to take a picture at this point but here's what came out of my giant hole:}
Now use the flat edge of your multi-tool to fill your hole with putty, smoothing out as you go. If you're not an expert at this, just get enough in there to make it more than level with the wall, and we'll take care of the excess when we sand.
Now here's the IMPORTANT part. Wait for it to dry. If you don't, you'll end up taking up the putty and having to start over. When you have a small hole, it won't take long, maybe a couple hours. When you have a giant crater like I did, it's best to wait to sand and paint until the next day. Here's the sanding portion. I prefer these sanding blocks because you can get a nice smooth surface when you lay it flat against the wall. There's little room for error.
Now you're ready for paint. Paint ONLY the area that needs it. The sheen will look different from the rest of the wall, due to time and sun, so you want to keep the area as inconspicuous as possible. No need to break out a brush or a roller. I find these small foam craft brushes work great, and they're cheap, so you can toss them if you're not into washing and reusing. Try to pat on the color at first and then smooth it out so you don't have any visible edges.
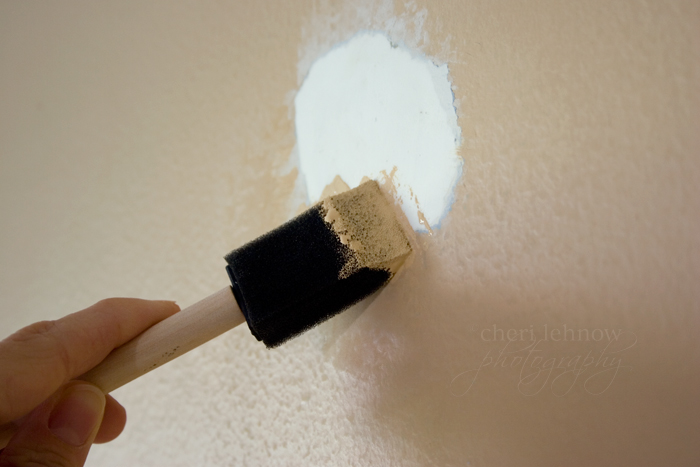
Voi La! You've just hidden an oops, or an old design element, or a furniture moving disaster. Let me know if you have any questions, and happy fixing! {In the picture, my paint hasn't dried yet, but once it does, it will be magnificent!}
Wednesday, June 01, 2011
shop 'til you find cute shoes
That's always been my motto. But with all the great sales this past weekend, I even shopped after I found great shoes. Lots of new summer dresses and tops that will 'grow' with my belly. When a brand new item is less than three dollars, it's really hard to walk away. Darn you Old Navy, darn you and your fabulous sales.
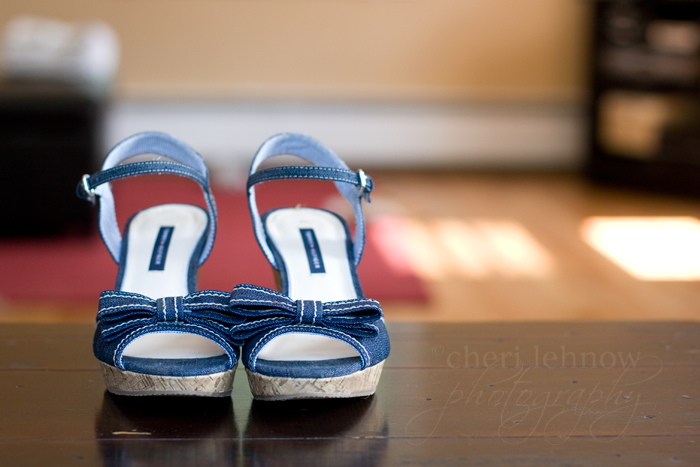
These shoes came after a short search, from Marshalls, and are absolutely what I was looking for. The husband said to me as we were about to go out for the day: "Why are you wearing heels, are you nuts?" to which I replied, "They're actually really comfortable!" To which he responded: "Well in that case you can be pregnant in heels anytime!".
Welcome home my retro go-with-anything comfortable friends. You will be loved.